408-569-9504


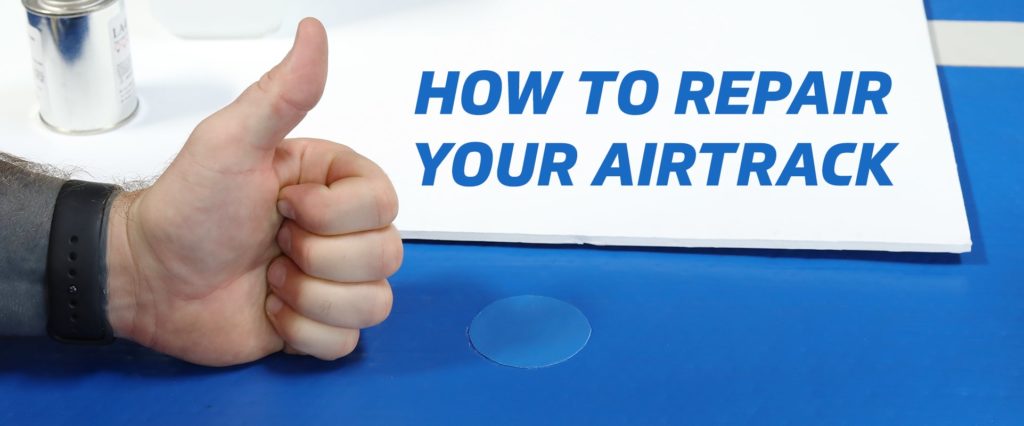
How to Repair a Hole on an AirTrack™
Inflatables for gymnastics and other activities are stronger than they’ve ever been — but they’re not indestructible. In the wrong conditions, even the toughest mats can tear or get punctured. Thankfully, many of them — including all AirTrack products — can be repaired. In this guide, we show you how.
![]()
8 Steps on How To Repair an AirTrack Inflatable Mat
If you’ve ever searched “how do you repair vinyl inflatables” or “how do you patch an inflatable seam,” this is the page for you. Below, our experts here at AirTrack have put together a step-by-step guide on repairing inflatable tears of several different sizes. Learn how to repair AirTrack products and other inflatables here, and shop with us today!
Step 1: Locate the Hole in Your Inflatable
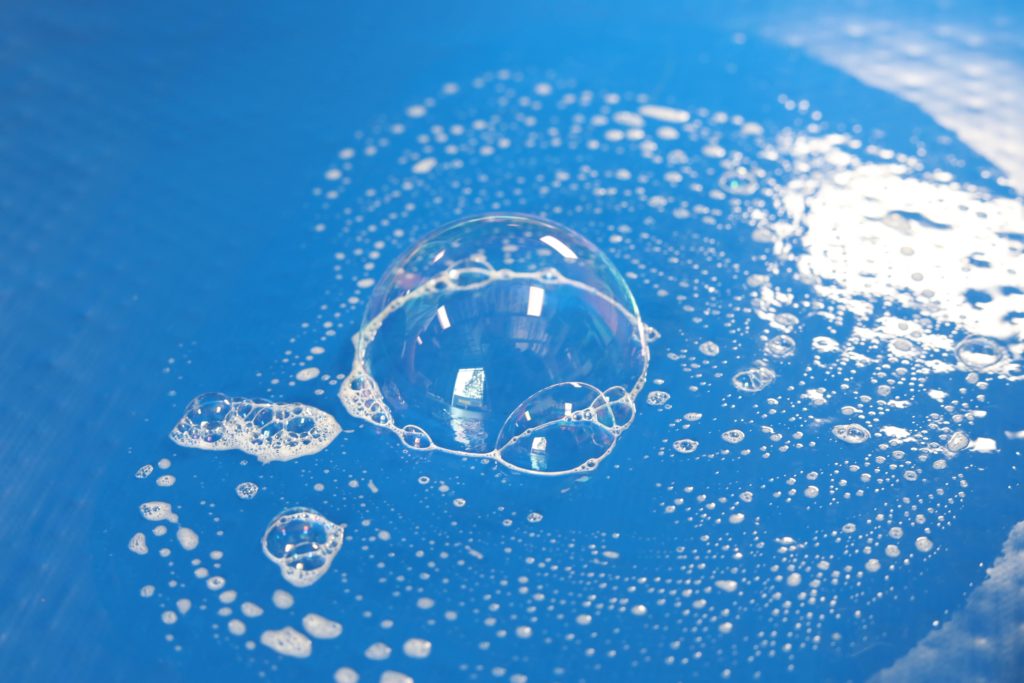
The first step to AirTrack repair — or inflatable repair of any kind — is to locate the source of the deflation. Often, you’ll know right away. If you’ve just moved your mat and accidentally collided with a sharp surface, you may feel a tear or poke and hear the air leaving your mat immediately. Other times, the hole will be much harder to notice. To locate it, apply a small amount of warm soapy water over the surface of your inflatable. (You can use a spray bottle to make it easy.) The hole will show itself among the soapy water and you’ll have found your culprit.
Step 2: Clean and Dry the Area
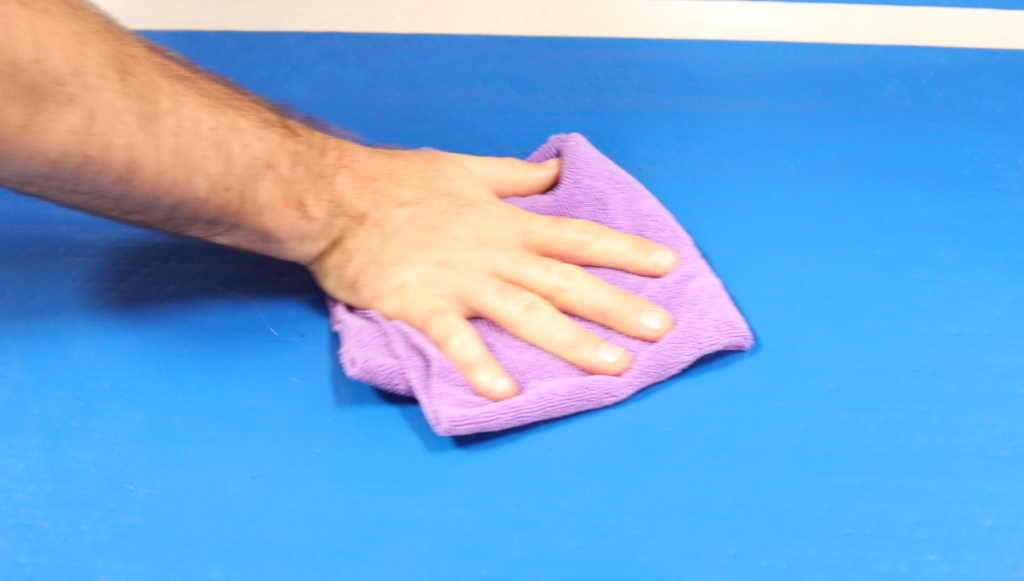
You’ve already applied the soapy water — now it’s time to do a bit of light scrubbing. Clean the area around your inflatables hole to ensure that your patch or glue will stick optimally. You don’t have to scrub down the entire inflatable — just the area that you plan to patch.
Step 3: Choose Your Repair Type
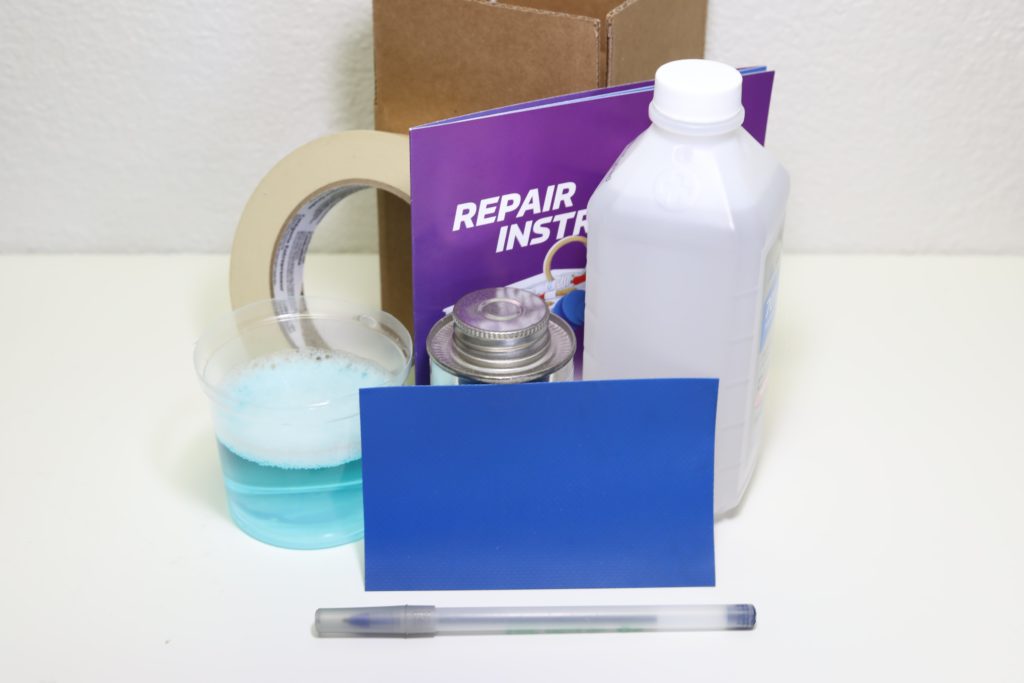
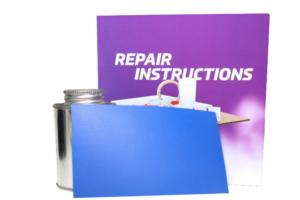
When it comes to inflatable air mat repair, you really have two possible solutions: a patch or a liquid sealant. Both involve “glue” in some sense, and both work best in different situations. Liquid sealant can come in pour or spray form. Pour sealant is better for larger holes, but in the case of inflatable mat repair, you’re better off sticking to patches in these situations. Spray sealant for inflatables, on the other hand, can often be used to block up micro holes.
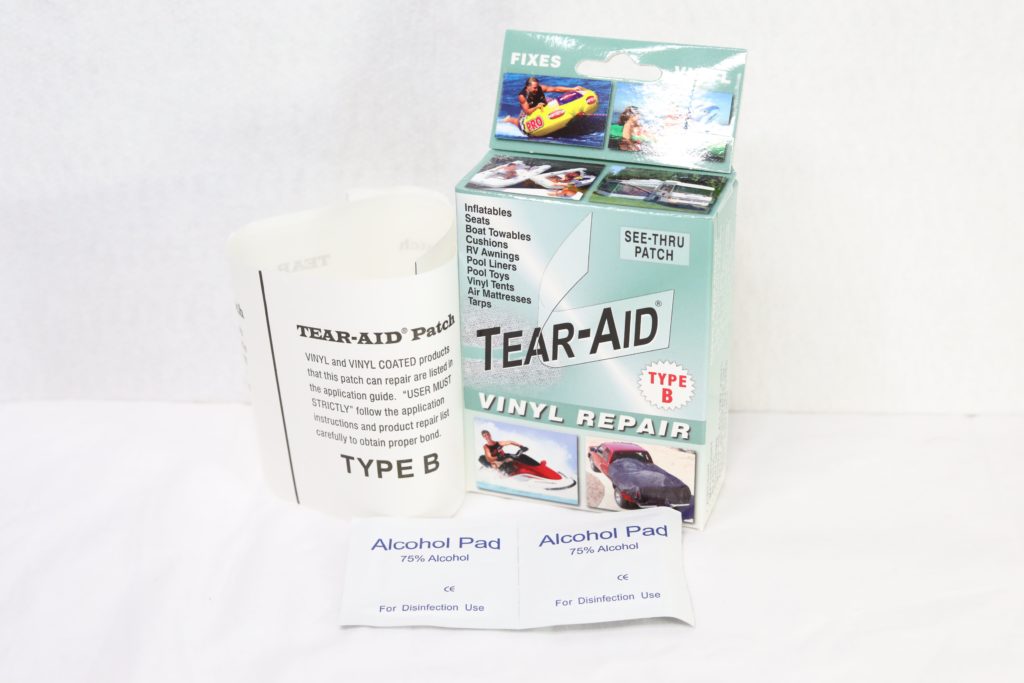
For larger holes, a patch will be needed. The inflatable patch kit contains two components: adhesive and the patch itself. AirHead is commercial-grade adhesive that our team recommends. Your patch should be a comparable material to your inflatable. You can find heavy-duty vinyl patches at many hardware stores and online retailers.
A lot of inflatable owners ask us: does Flex Seal work on inflatables? Flex Seal comes in a number of different products, so the answer depends on which one you select based on your hole. For micro holes, Flex Seal Spray may do the job. For mid-sized holes, Flex Tape may work as an all-in-one patch kit. However, for best results, we suggest using AirHead adhesive with a vinyl patch.
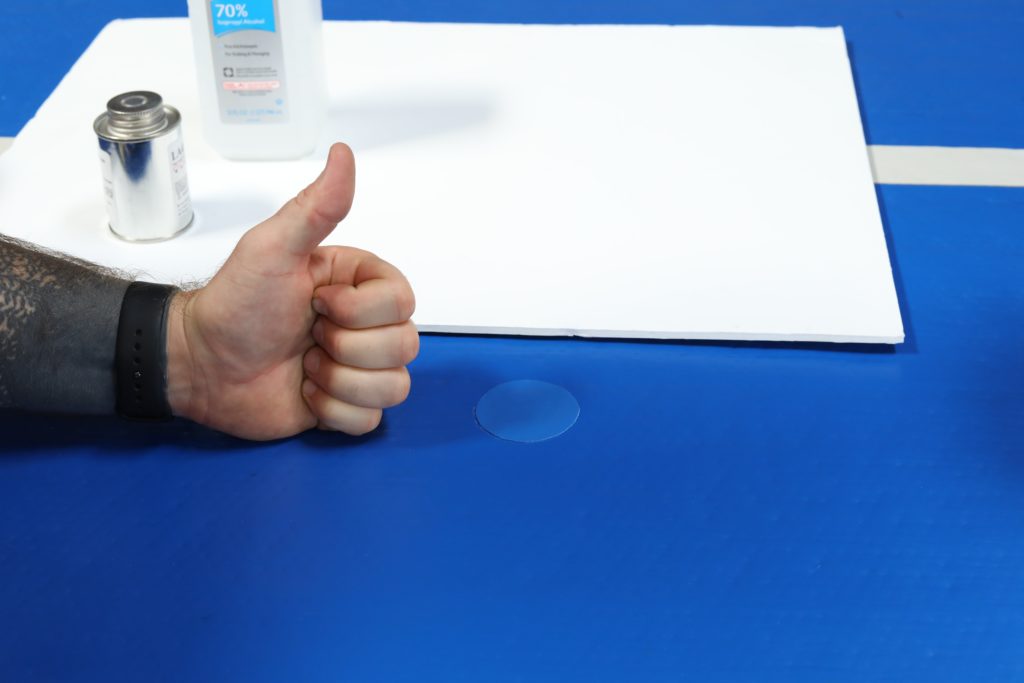
Step 4: Correctly Size & Customize Your Inflatable Patch Kit
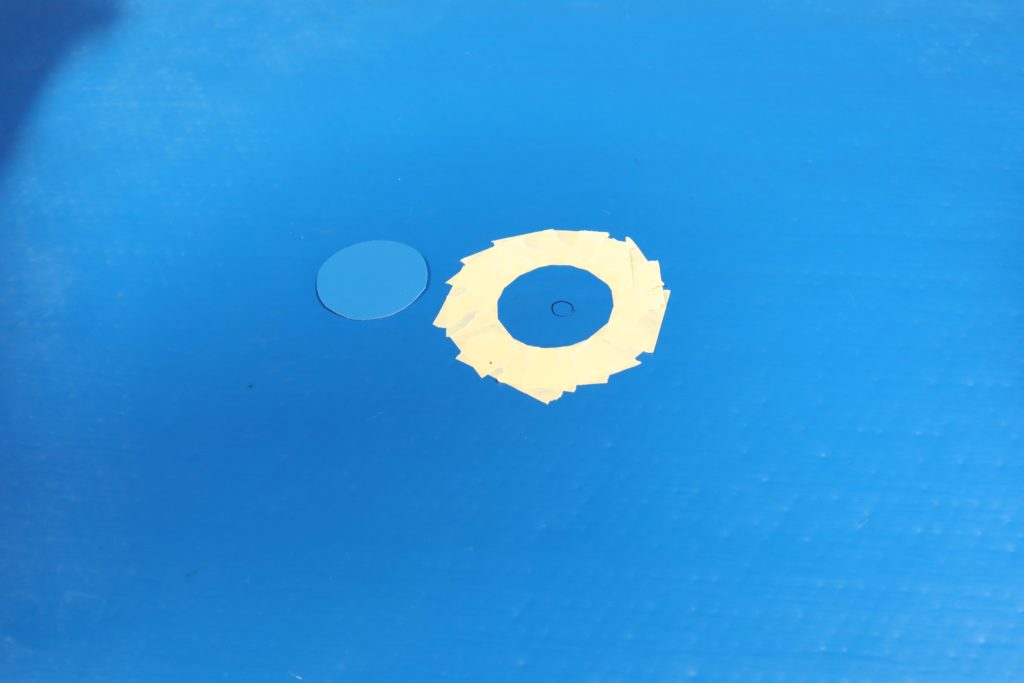
When using an inflatable patch kit, it’s important to make sure your patch covers the entire hole you’re repairing. You don’t want to make it too big, as this will require you to use more adhesive. If necessary, cut your patch to the ideal size, leaving a few inches on every side of the hole to allow the adhesive to stick. If the adhesive in the kit seems dissatisfactory, switch over to a commercial-grade adhesive like AirHead.
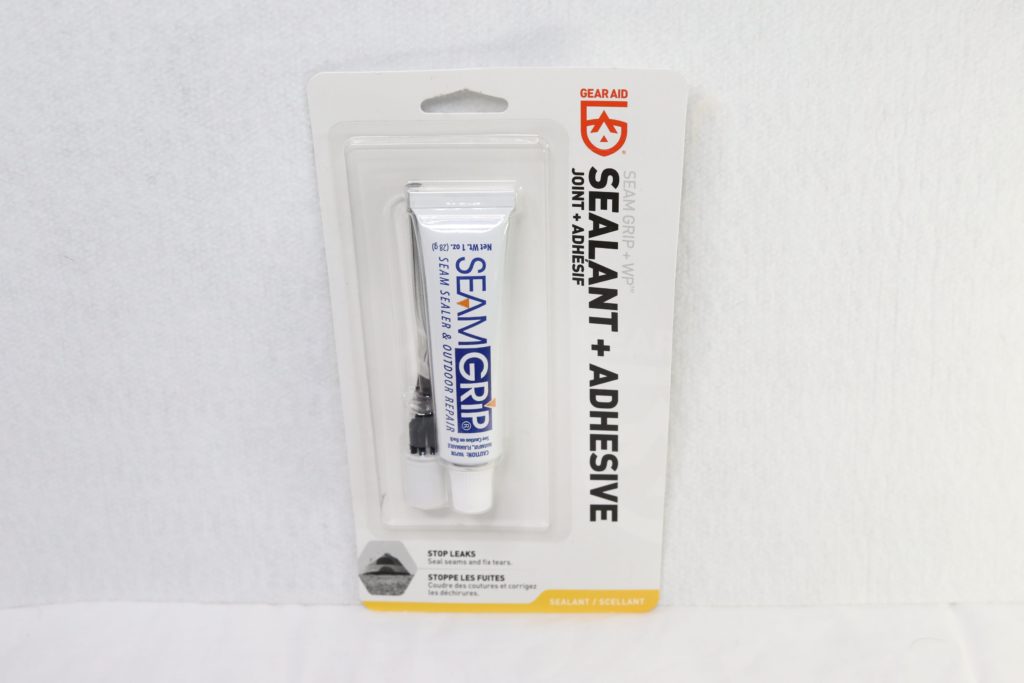
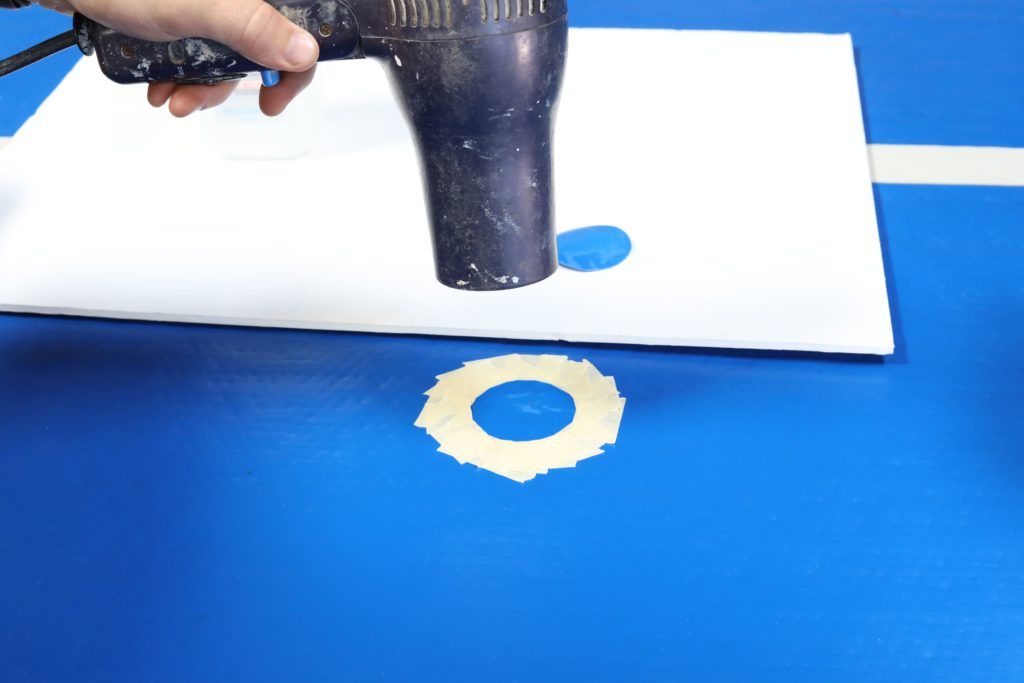
Step 5: Apply the Glue and Let it Dry
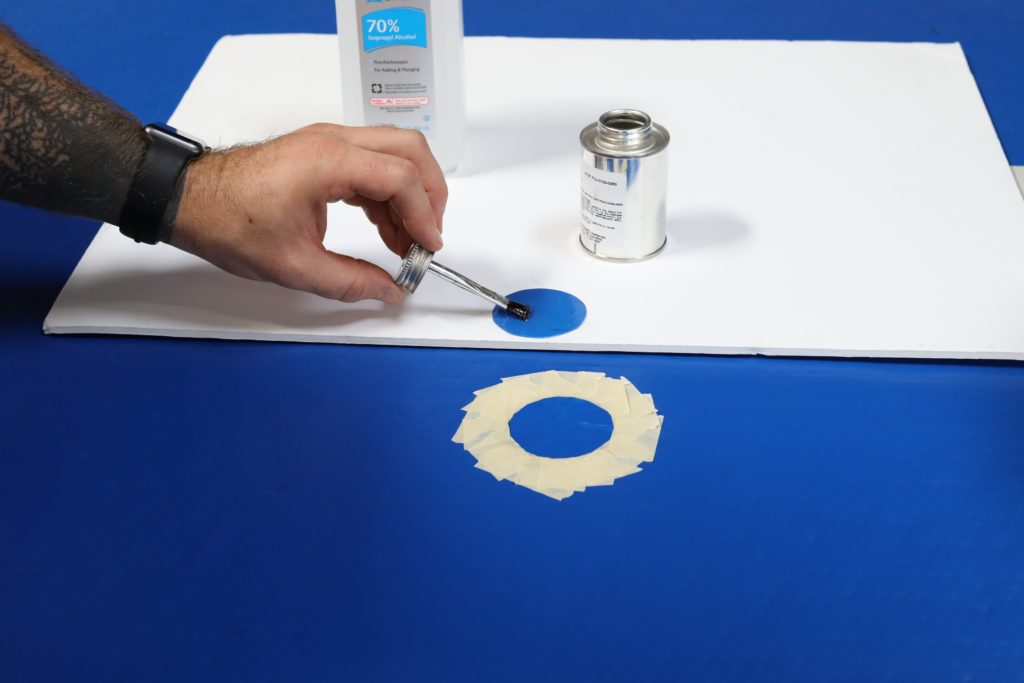
Whichever repair type you plan to use, you’re going to have to apply some glue. Here’s how:
· If you’re using a spray sealant, the sealant itself is both the glue and the patch. Simply spray it over your small hole(s) and wait for it to set.
· If you’re using a patch, apply glue to the air bordering the hole on your inflatable. Next, apply your adhesive to one side of your vinyl patch. (Again, we recommend AirHead for this application.)
Step 6: Apply Pressure
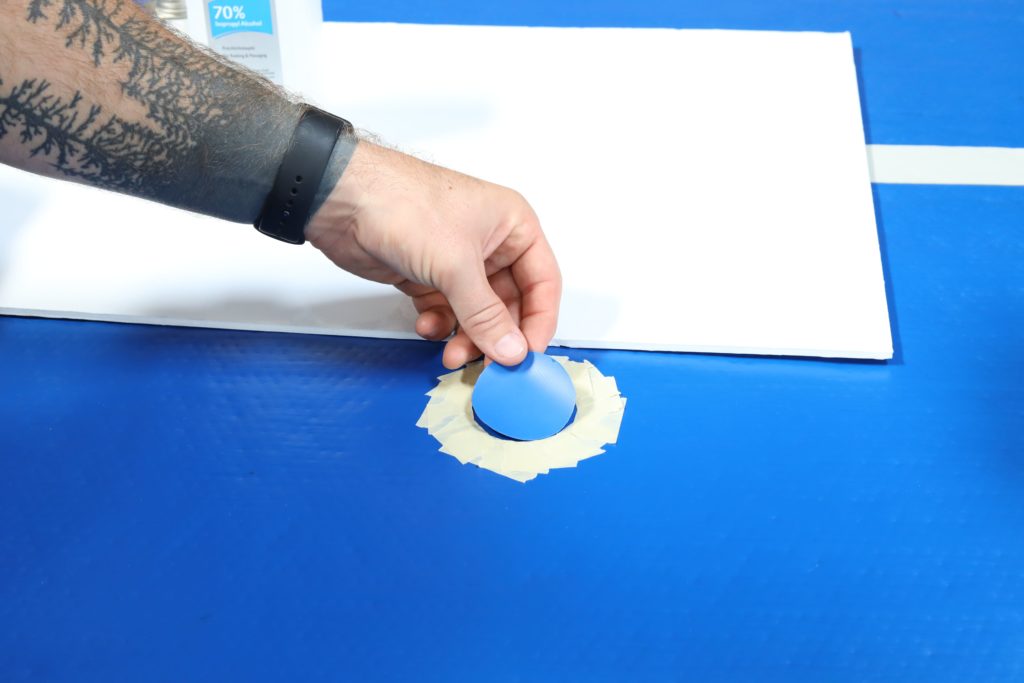

To ensure that your patch sticks, apply steady pressure when you affix it to your inflatable. This is especially important for inflatable seam repair, which will require your patch to bend over a corner. Wait for two to three minutes before removing your hand and releasing pressure.
Step 7: Perform Patch Check
After letting your glue dry for two to three hours, check to see if your patch is working by using a small amount of water to test for the presence of air. If it’s working, proceed to Step 8.
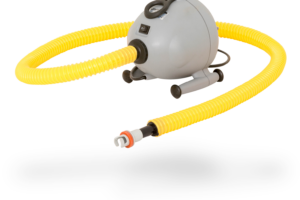
Step 8: Re-Inflate Your Mat
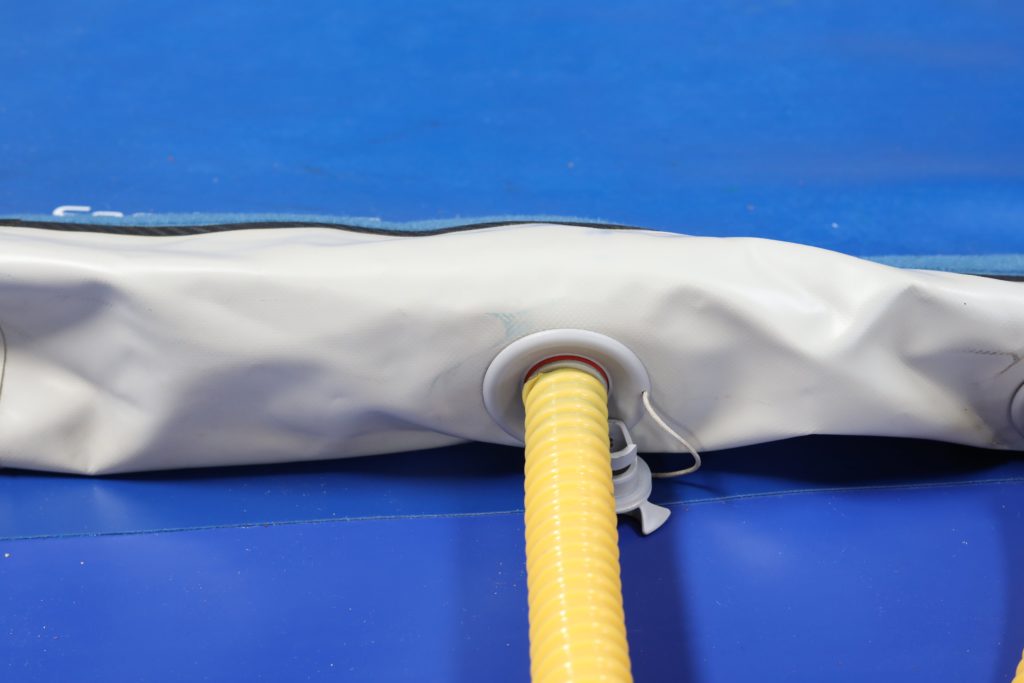

The final step in repairing any inflatable air mat is to re-inflate it and see if it holds air. If it does: job well done. If not, you may need to seek the help of a professional.
![]()
Send Your AirTrack To Us for Repair
When all else fails, our team here at AirTrack can help you repair your AirTrack product. Visit our Repair and Servicing page to learn how you can send your product to us and have it repaired professionally today!